SAML Setup Guide Example
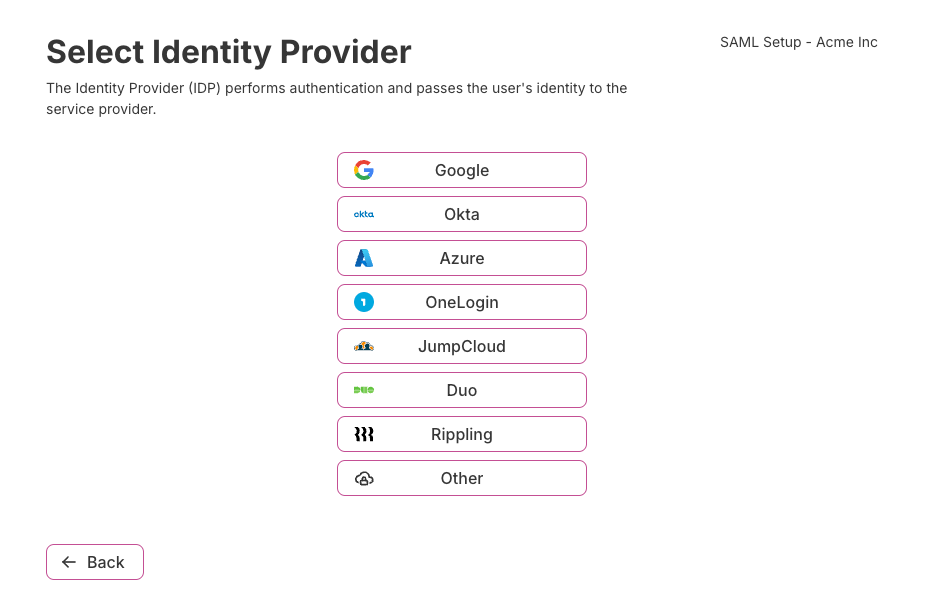
PropelAuth will provide your users with walkthrough guides for each IdP that we integrate with. This includes Google, Okta, Entra, and more. Each guide provides specific directions for the provider your customer selects, ensuring a smooth integration experience.
We also provide a Generic guide which includes all the URLs and attributes needed to get your users SAML connection up and running.
Here is an example of one of those guides.
Step 1 of 5: Create a new app integration
Go to your Okta dashboard and click "Create App Integration" under "Applications"
Select "SAML 2.0"
Step 2 of 5: Enter information into Okta
Add the following Service Provider details to your Identity Provider.
Single sign on URL
Audience URI (SP Entity ID)
Step 3 of 5: Map user attributes from Okta
Set up your Identity Provider (Okta) to send the following attributes. Attributes will automatically be added to the user.
Email attribute name
First name attribute name
Last name attribute name
Username attribute name
Step 4 of 5: Map user role(s) from Okta (Optional)
By default, your users will start with the "Member" role. You can provide a more specific role in one of two ways:
Specifying a role Attribute
You can specify one of the roles
- Owner
- Admin
- Member
via an attribute.
Using Groups
In some cases, it's nicer to use groups. You can add the user to a group with the name role_{role}
(e.g. "role_Owner", "role_Admin", "role_Member")
A user in the group "role_Owner" will end up with the "Owner" role.
For convenience, you can also add an optional description to the group like "role_myApp_Owner" to help you distinguish between different applications in your IDP.
Step 5 of 5: Setup SAML Connection
Finish creating your app and then scroll down to find the SAML setup instructions. Copy your values here to complete the integration.
Identity Provider Single Sign-On URL
Identity Provider Issuer
Certificate