Microsoft - Social login (SSO) configuration
Enabling Sign in with Microsoft only requires two fields: Client ID and
Client Secret. Both of these are provided by Entra, and these steps will
help you create them.
Users that sign up via Microsoft look the same as users that sign up via any other method. Your code will handle both automatically.
Step-by-step Instructions
-
Start by going to https://entra.microsoft.com/
-
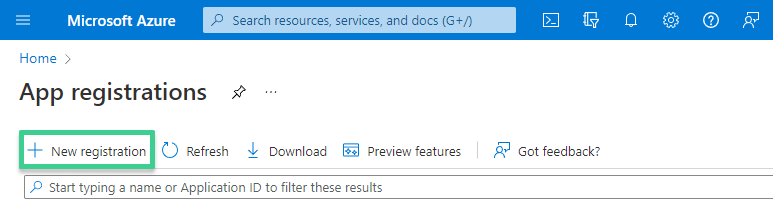
Next, search for App Registrations
-
If you don't have one already, click Create An App and follow the instructions to create one. You can choose if you want to limit signups to business accounts, personal accounts, or both.
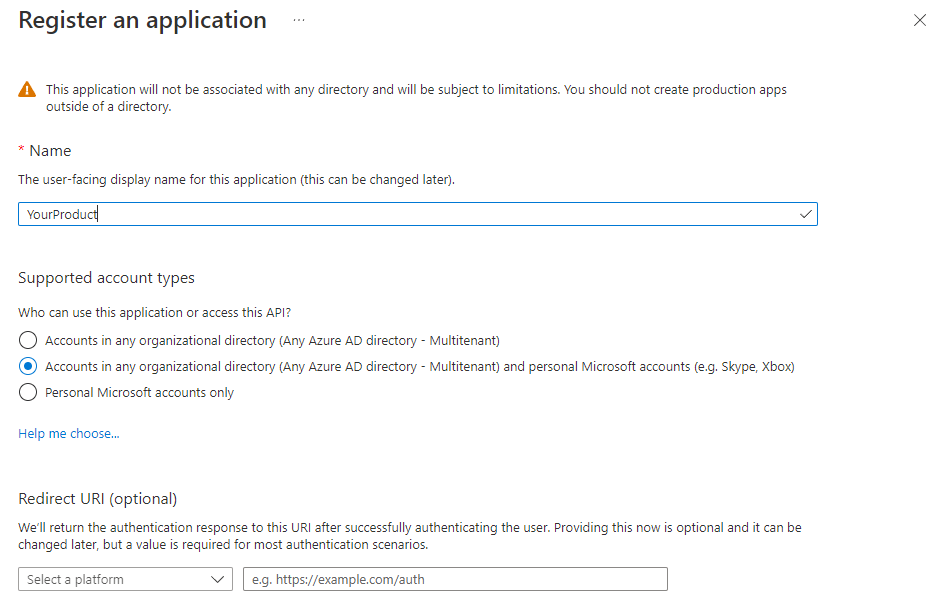
- After creating an App, first copy the Client ID.

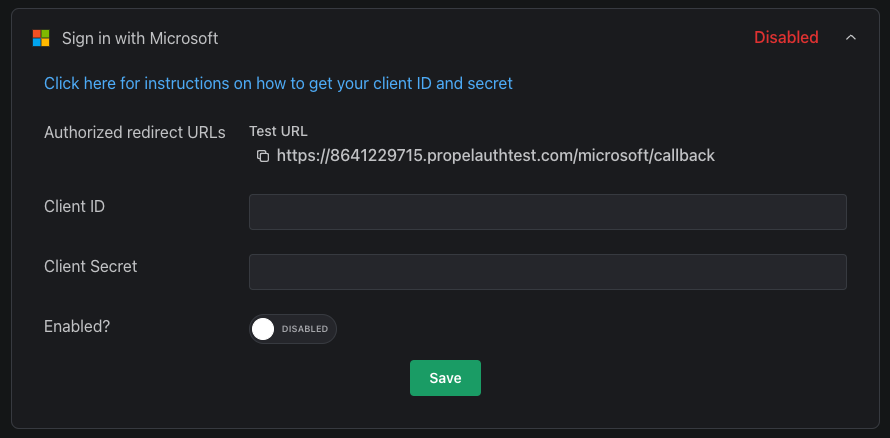
- Back in your PropelAuth project, under Social Logins, you enter your Client ID for Microsoft.
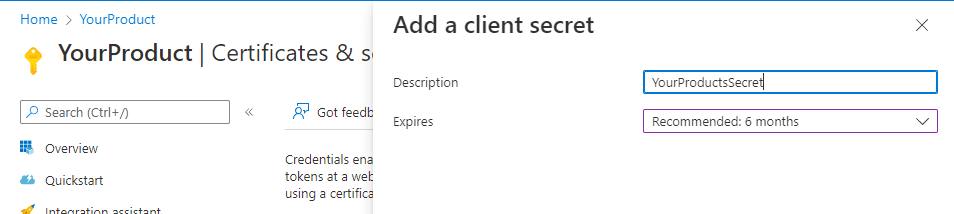
- Next, we need to get the Client Secret, so back in the Entra portal, click Add a certificate or secret, and then click New client secret.
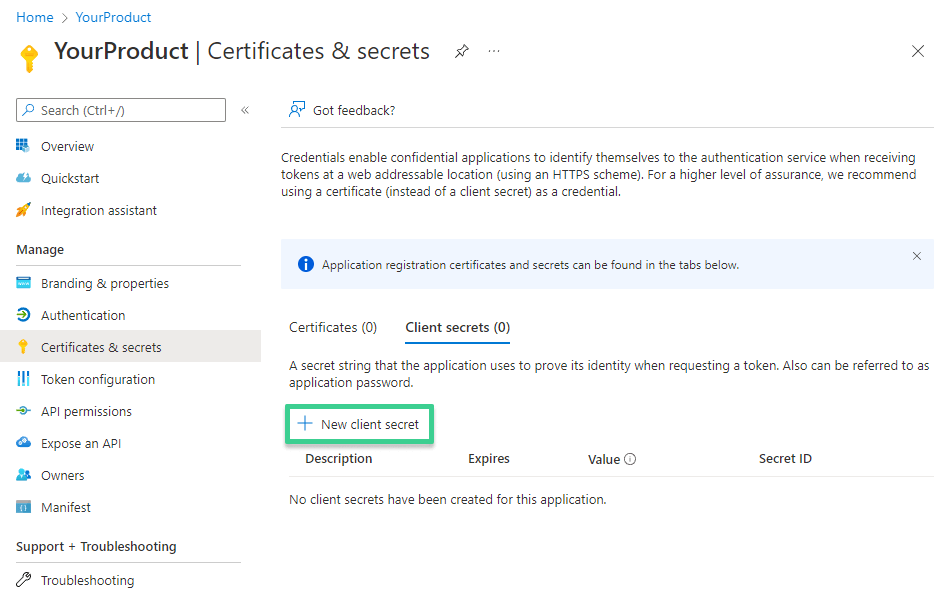
- Enter a name for your secret and a duration.
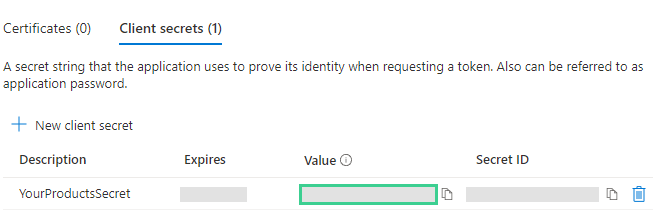
- Then copy the provided Client Secret, and paste it back in your PropelAuth project, where you previously pasted your Client ID.
-
After entering the secret, note the callback URLs that PropelAuth provides. PropelAuth handles the OAuth flow on your behalf, so all we have to do is tell Microsoft to allow these callback URLs.
-
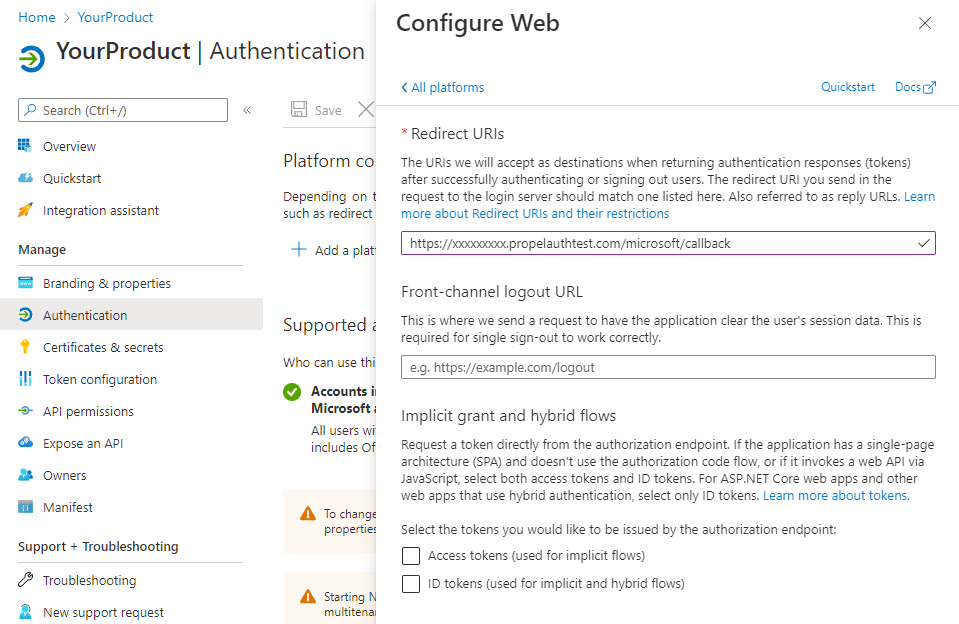
Click Authentication in the sidebar, and then click Add a Platform. Choose Web and enter PropelAuth's provided URL(s). Note that if you have two to enter (one for test, one for prod), you can only enter one on this screen, but you'll be allowed to add more after.
Once you have gone live, do not forget to add your Production URL to the Redirect URIs list.
And that's it! When you go to your hosted authentication pages, you should see
the Sign in with Microsoft button.