Google - Social login (SSO) configuration

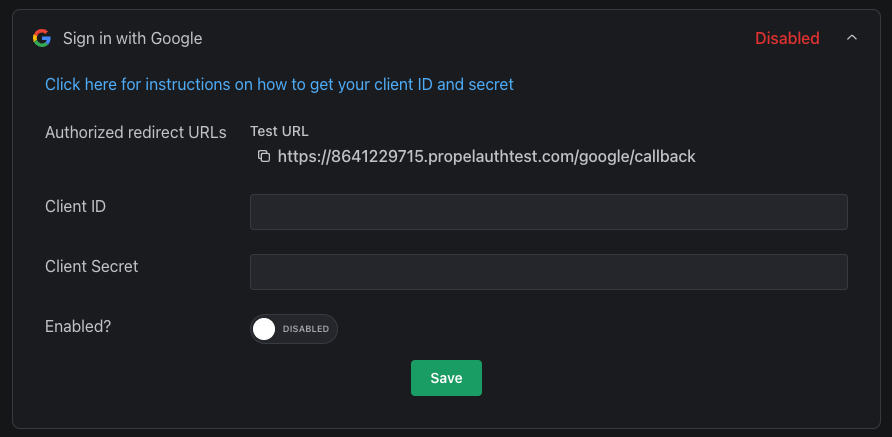
Enabling Sign in with Google only requires two fields: Client ID and
Client Secret. Both of these are provided by Google, and these steps will
help you create them.
The official Google guide is here. You'll be following the guide to create an OAuth 2.0 client, and PropelAuth will manage the OAuth workflow.
Users that sign up via Google look the same as users that sign up via any other method. Your code will handle both automatically.
Steps
- Go to the Google Cloud Platform Console.
- From the projects list, select a project or create a new one.
- On the left side menu, select APIs & services.
- Click Credentials.
- If you have never created an OAuth consent screen (what your users will see
after clicking
Sign in with Google), you will be prompted to fill that out first. Fill in the information for your application. - Click Create Credentials, then select OAuth client ID.
- Select
Web applicationfor your Application type. - Under Authorized redirect URIs, enter PropelAuth's provided URI. You can find this on the Social Logins section for your PropelAuth project.
Once you have gone live, do not forget to add your Production URL to the Authorized redirect URIs list, as well as publishing your app in your Google Cloud Platform Console. This can sometimes take several weeks!
- Click Create, note down the Client ID and Client secret you are provided.
- On the Social Logins section for your PropelAuth project, enter your Client ID and Client Secret. Click enable and save.
When you go to your hosted authentication pages, you should see the
Sign in with Google button.
