Next.js Pages Router Reference
This library should be used if you are using Next.js as BOTH a frontend and a backend. Meaning, you are using Server Side Rendering (SSR).
This means you are using getServerSideProps or getInitialProps in your pages.
If you are using using Next.js as a frontend, you should prefer the React library.
Automatic Installation
Begin by installing the PropelAuth CLI:
npm i -g @propelauth/cliLogging into the PropelAuth CLI
Before we install PropelAuth in your Next.js project we first have to log into the CLI. If you haven't already created an account in PropelAuth, navigate to auth.propelauth.com to get started.
Once you have an account with PropelAuth, run this command to login to the CLI:
propelauth login
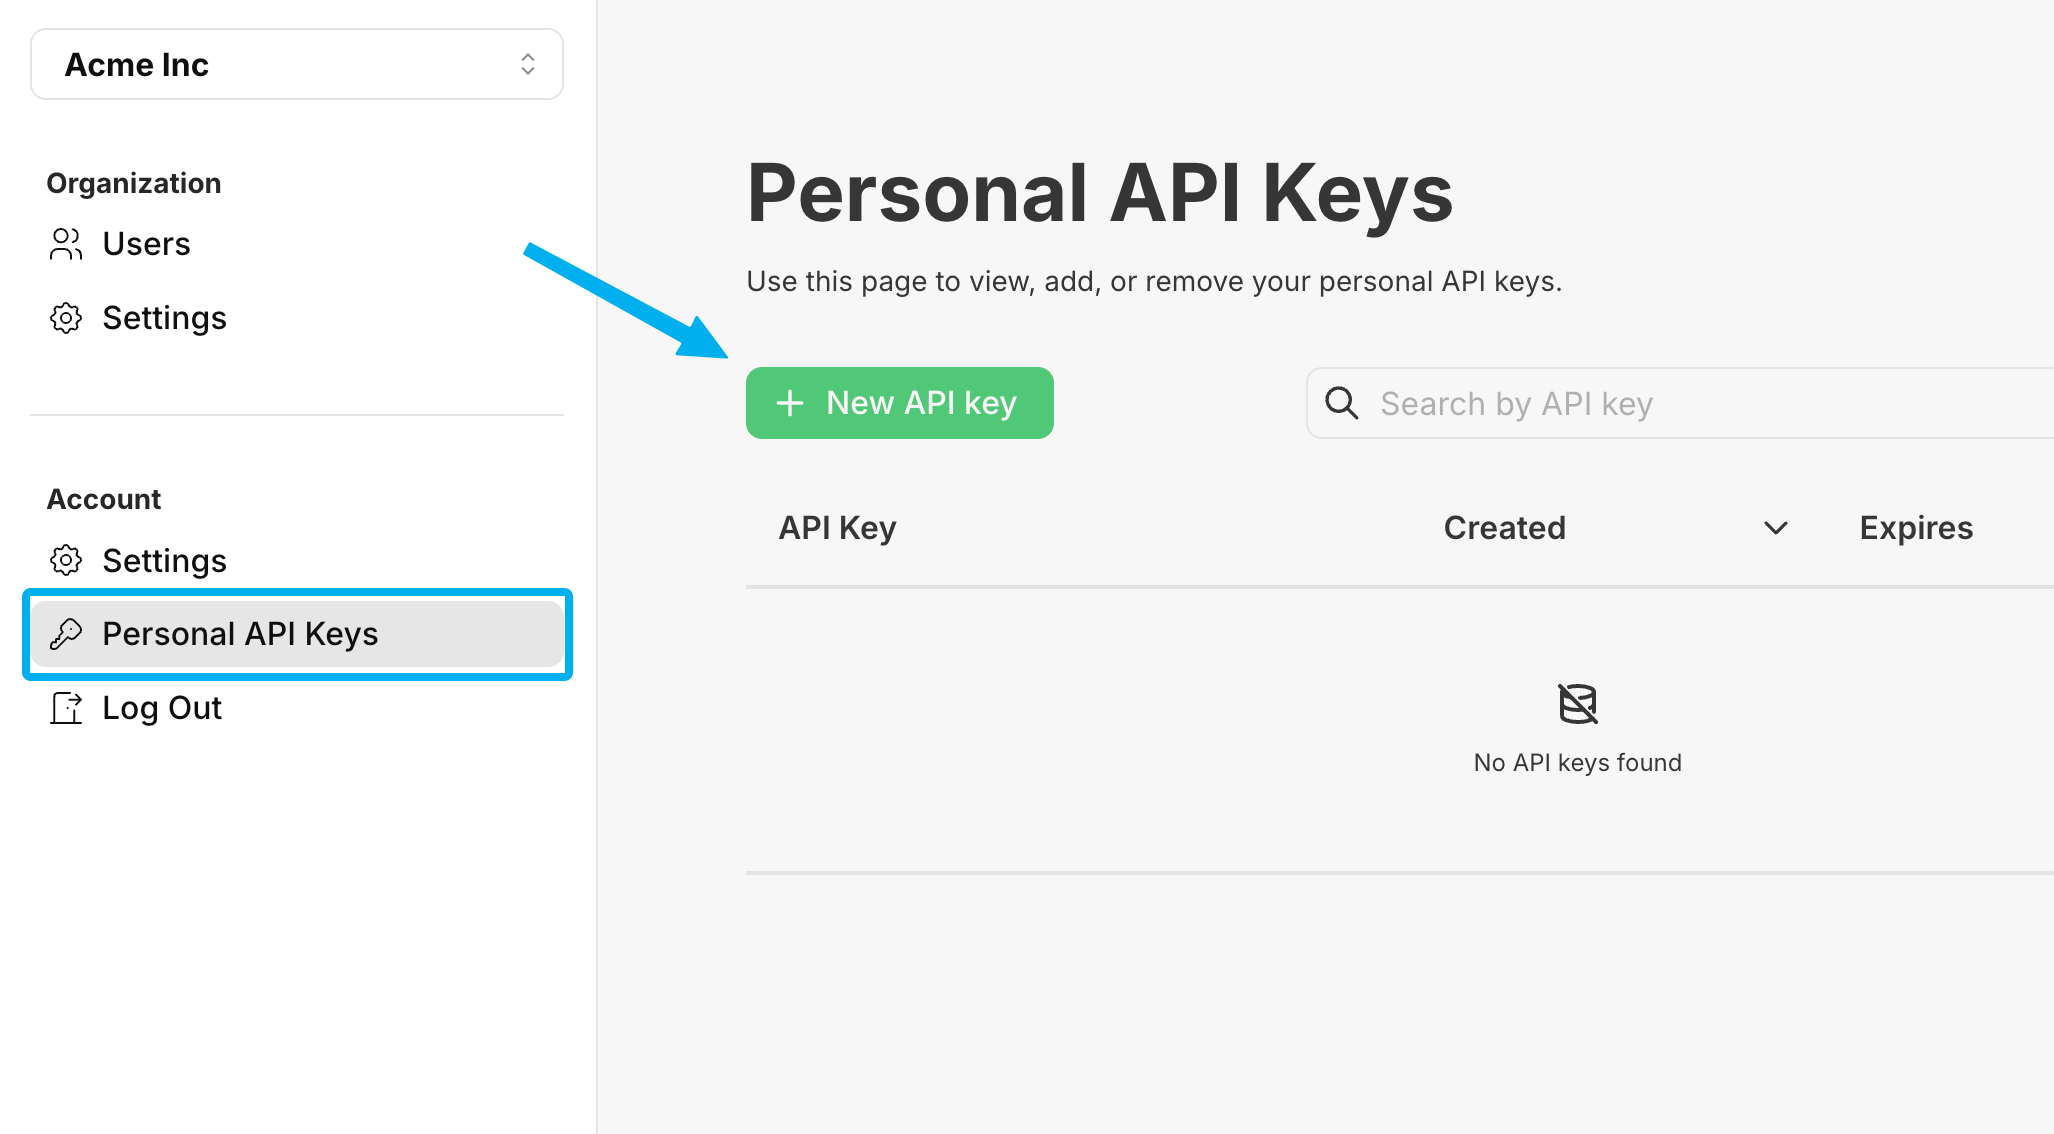
To login you'll be prompted to create and copy/paste a Personal API Key into your terminal.
┌  ⚡ PropelAuth Login
│
●
│  Please visit the following URL to create a personal API key:
│
●  https://auth.propelauth.com/api_keys/personal
│
│
◆  Enter your API key
│  # enter your API key here
└You can create a Personal API Key by navigating to https://auth.propelauth.com/api_keys/personal and clicking + New API Key.

Selecting a Default Project
Once your API Key is validated the CLI will prompt you to select a default project, if desired. If you select a default project, the CLI will not prompt you to select a project again until you repeat the login process or run the set-default-project command.
┌
◇  ✓ Projects fetched successfully
│
◆  Select a project to use
│  ● Always ask which project to use (You will be prompted for each command)
│  ○ Acme Inc / New Project
└Installing and Setting up PropelAuth in Next.js
Once you have logged into the CLI it's time to install PropelAuth within your Next.js app! Navigate to your Next.js project directory and run the following command:
propelauth setup
During installation you'll see the following prompts:
┌  ⚡ PropelAuth Setup
│
◆  Select your project framework:
│  ○ Next.js (App Router)
│  ● Next.js (Pages Router) (Uses pages/ directory structure)
│
◆  Select a project to use for this command
│  ● Acme Inc / New Project
│
◆  Enter the URL your Next.js app runs on:
│  ↳ http://localhost:3000
│
●  No API key found in environment file
│
◆  Would you like to generate a new Backend Integration API Key for this project?
│  ● yes / ○ no
│
│  Enter a name for the new Backend Integration API Key:
│  ↳ Next.js Integration
│
●  Updates needed for the Frontend Integration settings for your test environment
│  - Login redirect path: / → /api/auth/callback
│  - Logout redirect path: / → /api/auth/logout
│  - Development URL: none → http://localhost:3000
│
◆  Your test environment config needs to be updated, would you like to apply these changes now?
│  ● yes / ○ no
│
◆  Install @propelauth/nextjs now?
│  ● npm install @propelauth/nextjs (detected)
│  ○ yarn add @propelauth/nextjs
│  ○ pnpm install @propelauth/nextjs
│  ○ bun install @propelauth/nextjs
│  ○ Skip installation
│
●  _app.tsx with AuthProvider at /src/pages/_app.tsx differs from what we expected.
│
◆  Overwrite _app.tsx with AuthProvider?
│  ● Yes / ○ No
│
└ PropelAuth has been successfully set up in your Next.js project!Once the CLI has successfully installed PropelAuth within your Next.js project it will also include some example components to help you get started.
import { getUserFromServerSideProps } from "@propelauth/nextjs/server/pages";

const WelcomeMessage = ({ user }) => {
    return <div>Welcome to your authenticated page, {user.email}!</div>
}

export async function getServerSideProps(context) {
    const user = await getUserFromServerSideProps(context)
    if (!user) {
        return { redirect: { destination: '/api/auth/login' } }
    }

    return {
        props: {
            user: {
                email: user.email,
                // other user properties you need
            },
        },
    }
}

export default WelcomeMessage;
And you're all setup! Wondering what to do next? We have plenty of documentation around Server Components Functions, Client Components Hooks, as well as Role Based Access Control.
