Integrating Enterprise SSO with Auth0
If you’re already using Auth0 for authentication, but now need to support SAML or Enterprise-level Single Sign-On (SSO), this guide is for you! If you haven't already, make sure to check out our guide on getting your project ready for Enterprise SSO.
Auth0 Configuration
Now that we have everything prepared on the PropelAuth side, let's add a Social Connection to your Auth0 account. This connection will then allow us to create a "Continue With Enterprise SSO" button to your login page.
Creating a Social Connection
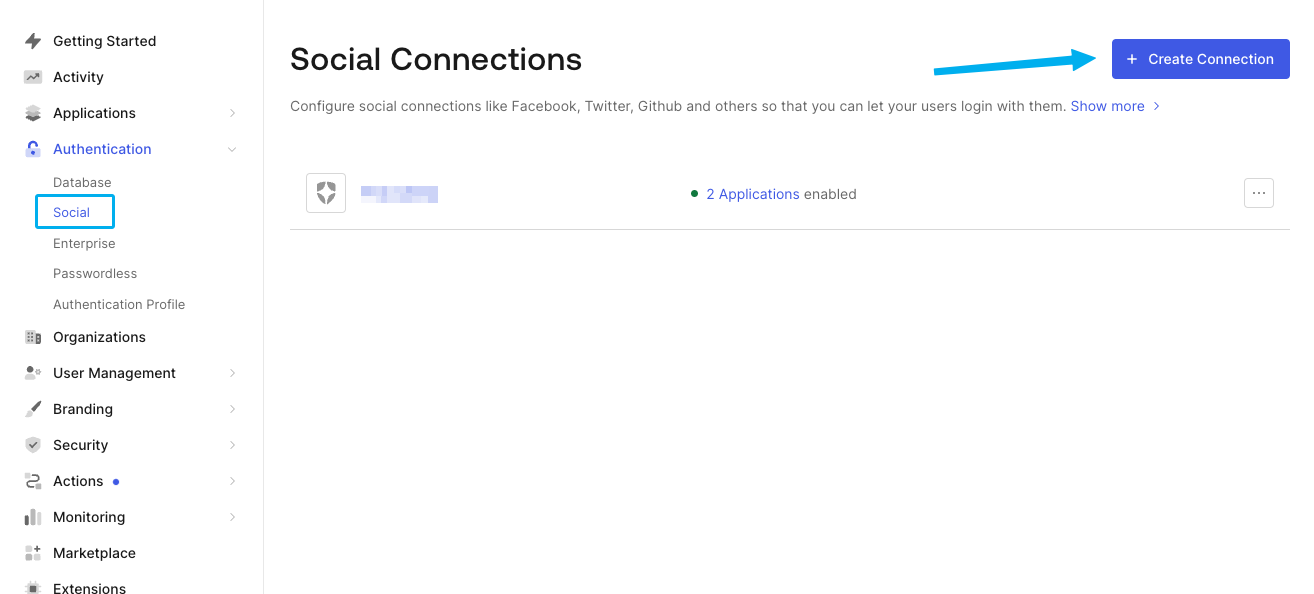
Head over to your Auth0 account and click on Authentication followed by Social. In the next menu, click on the Create Connection button.
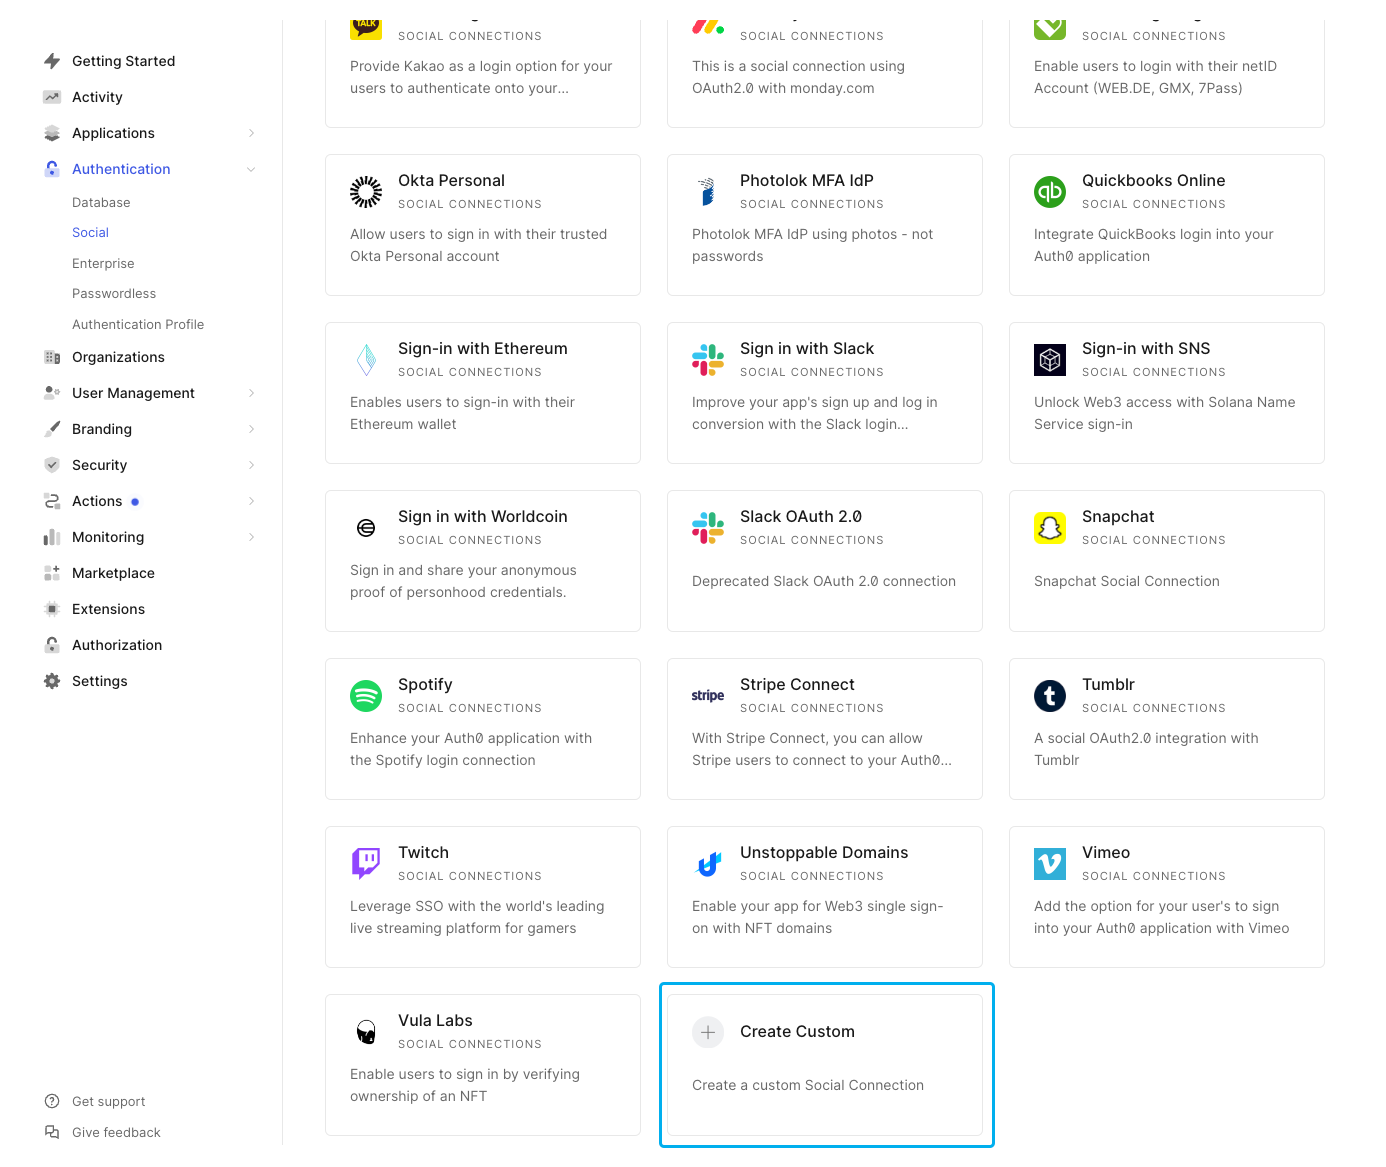
In the next menu, scroll down to the bottom and select Create Custom.
Name the connection. Note that Auth0 will display the name of your app in your login screen. If you want the button to say "Continue With Enterprise-SSO", name your app "Enterprise-SSO".
Next, navigate to the Frontend Integration page in your PropelAuth dashboard. Then, click on Advanced Settings to access the OAuth2 Config page.
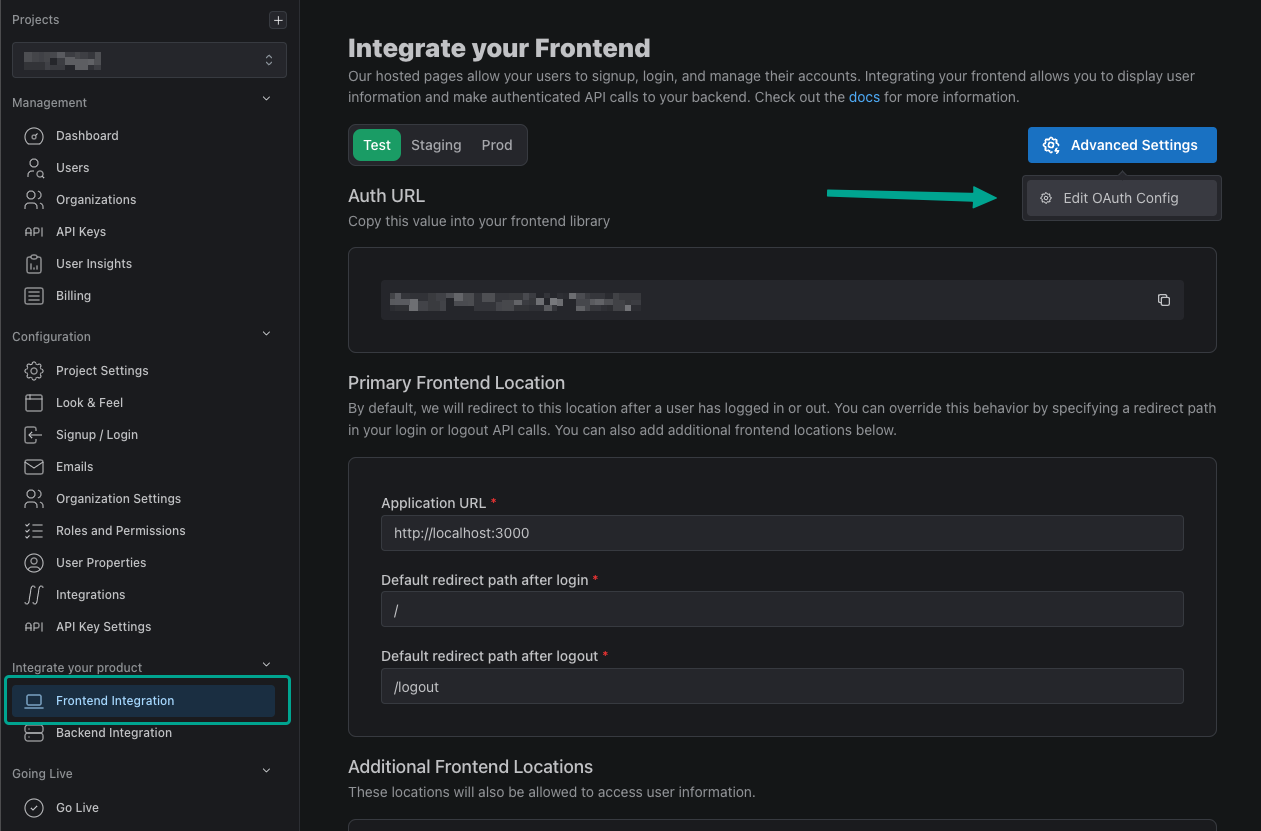
Here, we can find your Client ID and generate a Client Secret. Copy and paste these over into Auth0.
For the Redirect URI, add {YOUR_AUTH0_AUTH_URL}/login/callback. For example, https://dev-hkslwgasn123.us.auth0.com/login/callback.
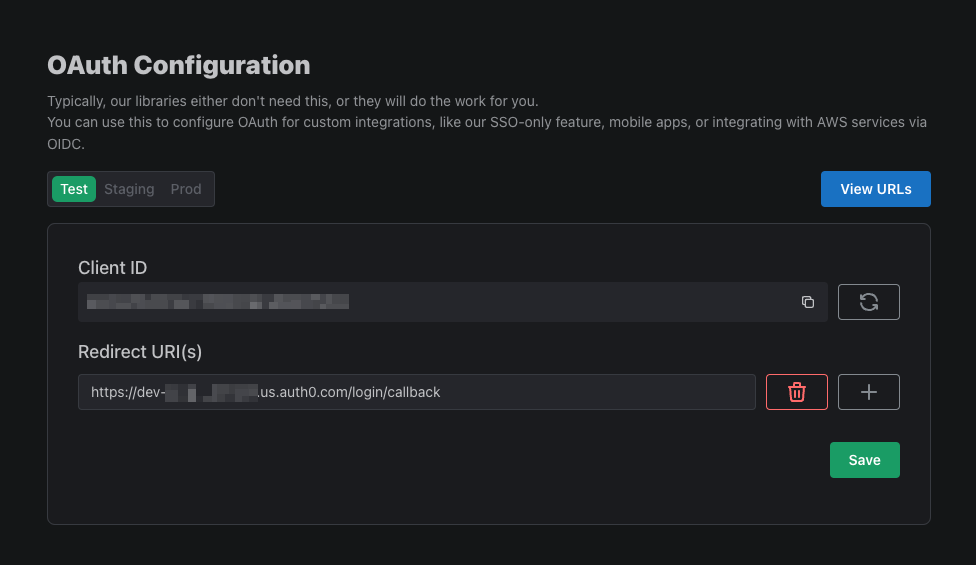
You can find the Authorization URL and Token URL by clicking on the View URLs button in PropelAuth. Copy and paste these over to Auth0 as well.
In Auth0, copy and paste openid profile email into the Scope text box.
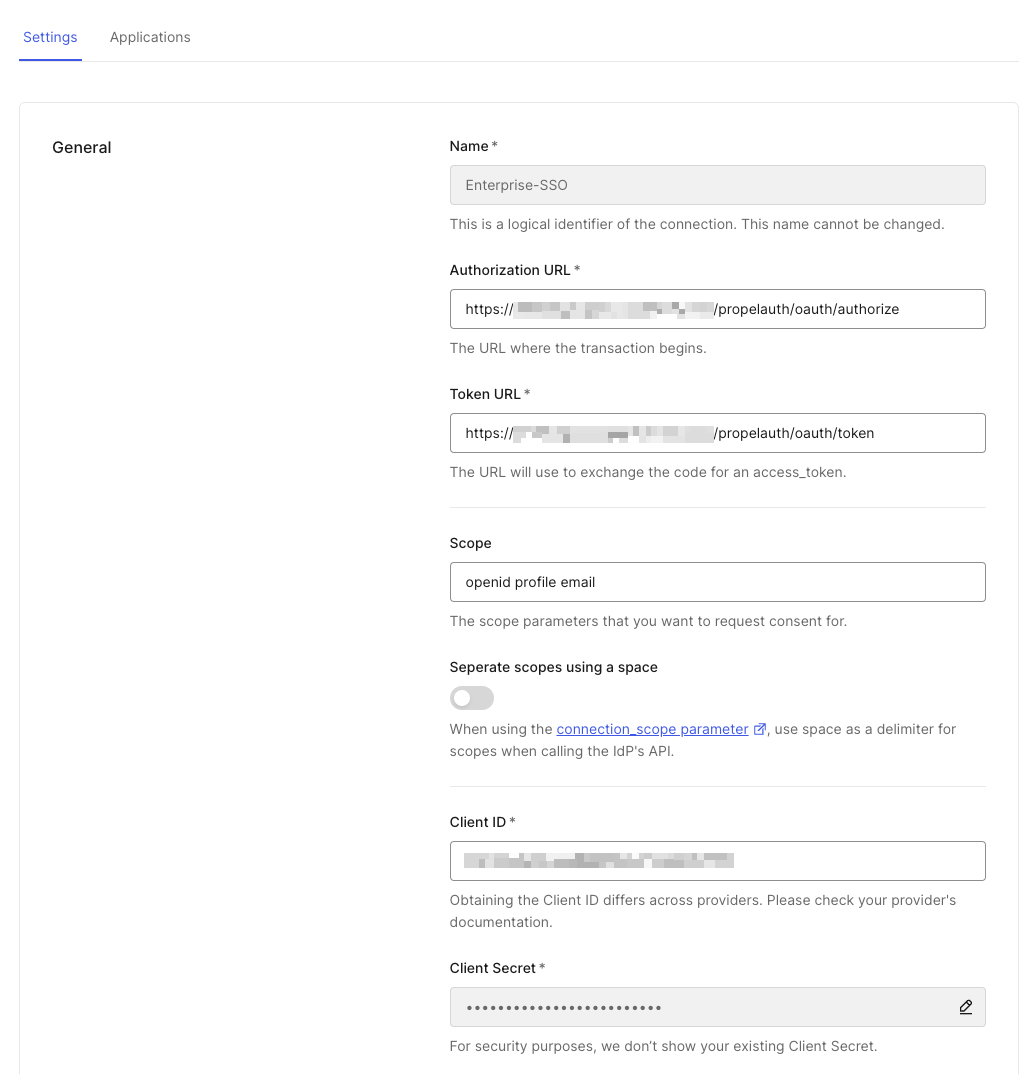
On the same page, we need to edit the Fetch User Profile Script. Make sure to replace REPLACE_ME with your Userinfo URL found in the same location as your Authorize URL and Token URL.
function fetchUserProfile(accessToken, context, callback) {
  request.get(
    {
      url: 'REPLACE_ME',
      headers: {
        'Authorization': 'Bearer ' + accessToken,
      }
    },
    (err, resp, body) => {
      if (err) {
        return callback(err);
      }
      if (resp.statusCode !== 200) {
        return callback(new Error(body));
      }
      let bodyParsed;
      try {
        bodyParsed = JSON.parse(body);
      } catch (jsonError) {
        return callback(new Error(body));
      }
      const profile = bodyParsed;
      callback(null, profile);
    }
  );
}
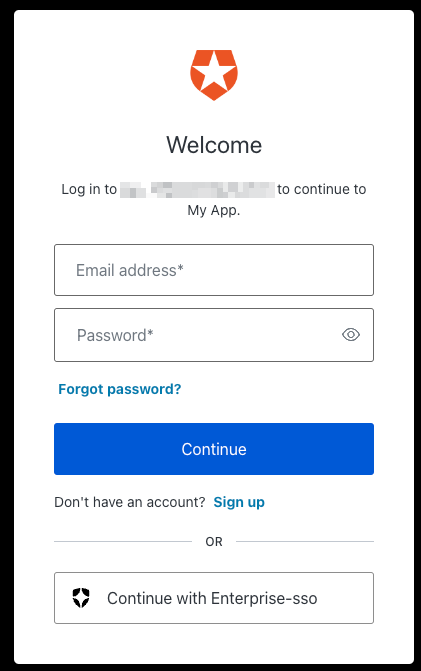
Click Save and then test your connection by clicking the Try Connection button. If everything is set up correctly, you'll now have a "Continue with Enterprise-SSO" button to allow your users to sign with with SAML!
When your users click this button, they'll see the following:
Getting User Information
Now that you have users logging in via a SAML connection, how do we get all their information? Auth0's useAuth0 will contain the user's basic information such as email address and name, but what about their org and role information?
We can get this by using Auth0's Management API. For example, a Get User would return the following:
{
  "can_create_orgs": true,
  "email_confirmed": true,
  "nickname": "Ant",
  "first_name": "Anthony",
  "mfa_enabled": false,
  "picture_url": "https://img.propelauth.com/2a27d...",
  "last_active_at": 1719434237,
  "user_id": "oauth2|Enterprise-SSO|0170279...",
  "enabled": true,
  "update_password_required": false,
  "properties": {},
  "sub": "017027...",
  "username": "AntMan",
  "updated_at": "2024-06-26T20:38:31.369Z",
  "org_id_to_org_info": {
    "0755954b-21fc-44e1-b684-35acefa6d414": {
      "org_name": "Acme Inc",
      "url_safe_org_name": "acme-inc",
      "additional_roles": [],
      "org_id": "0755954b-21fc-44e1-b684-35acefa6d414",
      "user_permissions": [
          "propelauth::can_invite",
          "propelauth::can_change_roles",
      ],
      "org_metadata": {},
      "org_role_structure": "single_role_in_hierarchy",
      "user_role": "Owner",
      "inherited_user_roles_plus_current_role": [
          "Owner",
          "Admin",
          "Member"
      ]
    }
  },
  "picture": "https://s.gravatar.com/avatar/31c0baba2...,
  "name": "test@acme.com",
  "has_password": true,
  "locked": false,
  "email": "test@acme.com",
  "last_name": "Edwards",
  "created_at": "2024-06-26T20:37:16.974Z",
  "last_login": "2024-06-26T20:38:31.369Z",
  "last_ip": "136...",
  "logins_count": 3
}
And that’s it! Your users can now:
- Setup SAML
- Login via SAML
- Show up with org details, roles, and user properties when they login
You’re now all set and ready to managing your users with Enterprise SSO!