OAuth2 Support
PropelAuth’s typical integration is through our frontend and backend libraries. In some cases, it’s simpler to integrate with frameworks that have OAuth2 support already built in. This guide will document how to get started with OAuth2. If you're looking for our OAuth2 API endpoints, check out our OAuth2 reference docs.
Support for React Native, No-Code & Low-Code Platforms, and more
Our OAuth2 support is designed to work with any framework that supports OAuth2. This includes React Native, no-code and low-code solutions, and more. If you’re using a framework that has built-in support for OAuth2, you can use PropelAuth as your identity provider. This guide will show you the basics on how to get started, but if you have any questions please reach out to support@propelauth.com for support.
OAuth2 Configuration
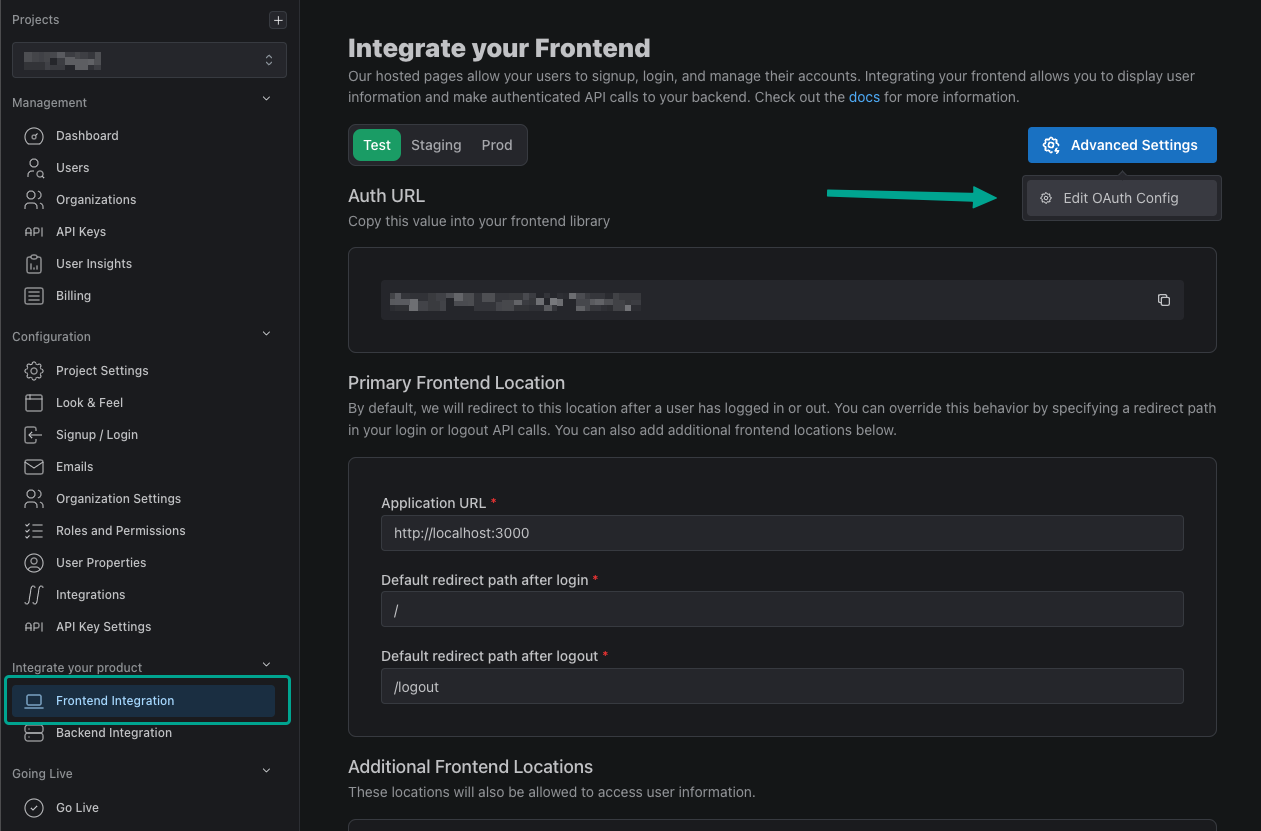
You can find the Client ID and Client Secret by heading over to the Frontend Integration page, clicking on Advanced Settings followed by Edit OAuth Config. Here, we can generate a Client ID and Client Secret as well as set your Redirect URI(s).
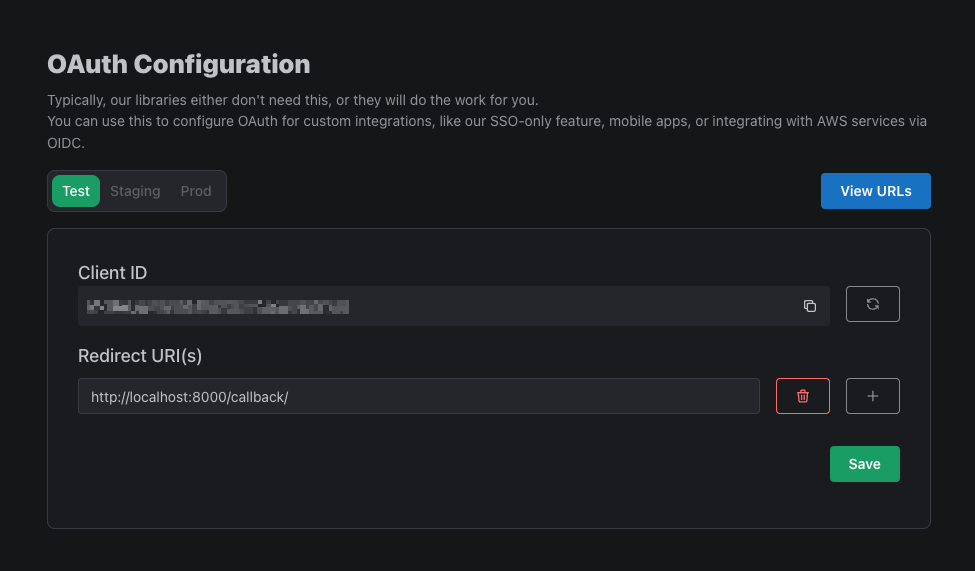
You can also a new Client Secret at any time by clicking the reload icon to the right of the Client ID.
Adding a Redirect URI
Adding a Redirect URI is required to successfully log a user in via OAuth2. The provided Redirect URI must also match the redirect_uri provided in the Authorize Endpoint.
Wildcard Support
PropelAuth supports wildcards for Redirect URIs. Here are some examples of supported wildcards:
| Wildcard URL | Actual URL | Supported |
|---|---|---|
https://*.example.com/redirect | https://sub.example.com/redirect | ✅ |
https://abc.*.example.com/redirect | https://abc.sub.example.com/redirect | ✅ |
https://*.example.com/redirect | https://sub.sub.example.com/redirect | ❌ |
https://*.example.com/redirect | https://example.com/redirect | ❌ |
Next Steps
Now that we have set your Redirect URIs and generated a Client ID and Client Secret, move onto the OAuth2 API reference guide to start the OAuth2 login flow.