Quickstart Frontend Guide
One of our goals with PropelAuth is to get you up and running as quickly as possible. You shouldn't have to worry about managing users, passwords, reset flows, 2FA, or anything like that, you should just be able to get information on your users and get back to building your product.
Installation
First, install the @propelauth/react library in your existing React application. If you don't have a React application yet, follow these instructions.
npm install @propelauth/reactConfiguration
We now need to tell PropelAuth where our application is running so that it will allow requests from our application. Go to the Frontend Integration section of your PropelAuth dashboard, and enter http://localhost:3000 into the Application URL field:
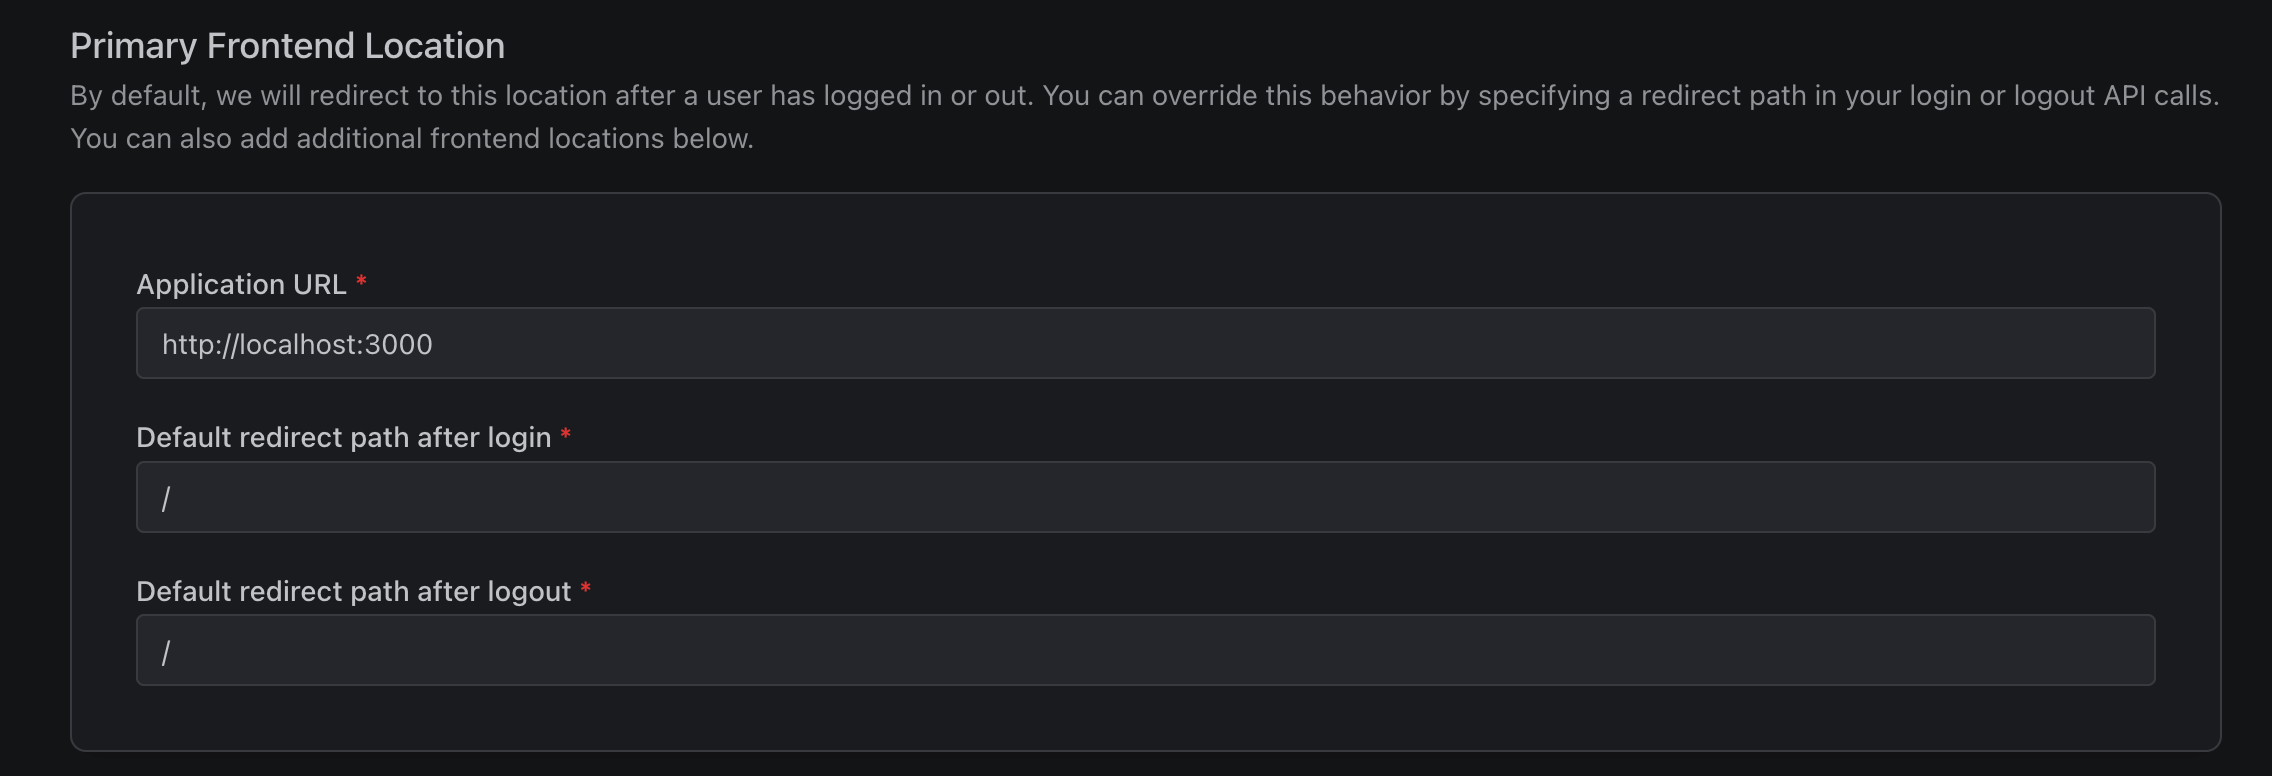
While we're here, we'll also copy the Auth URL into an .env file, which we'll use in a second:
.env
# Test environment only, in production, we'll use our own domain
REACT_APP_AUTH_URL=https://something.propelauthtest.com

# If you are using Vite:
# VITE_AUTH_URL=https://something.propelauthtest.com
Initialization
At the root of your application, wrap your app in an AuthProvider component.
index.js
import { AuthProvider } from "@propelauth/react";

const root = ReactDOM.createRoot(document.getElementById("root"));
root.render(
    <AuthProvider authUrl={process.env.REACT_APP_AUTH_URL}>
        <YourApp />
    </AuthProvider>,
    document.getElementById("root")
);The AuthProvider is responsible for fetching the current user's authentication information.
If your entire application requires the user to be logged in (for example, for a dashboard),
use RequiredAuthProvider instead and you'll never have to check isLoggedIn.
Display user information
We now have everything set up to display our user's information. Lets create a simple component that displays the user's email address:
components/YourApp.jsx
import { withAuthInfo } from '@propelauth/react'

const YourApp = withAuthInfo((props) => {
    // isLoggedIn and user are injected automatically from withAuthInfo
    if (props.isLoggedIn) {
        return <p>You are logged in as {props.user.email}</p>
    } else {
        return <p>You are not logged in</p>
    }
})

export default YourAppAnd that's pretty much it. Since we haven't logged in yet, we'll see:

But, speaking of logging in... if a user lands on this page, there's not a lot they can do. Let's update our component to display Signup and Login buttons if the user isn't logged in yet. While we are here, we'll also add Logout and Account buttons if the user is logged in.
components/YourApp.jsx
import { withAuthInfo, useRedirectFunctions, useLogoutFunction } from '@propelauth/react'

const YourApp = withAuthInfo((props) => {
    const logoutFunction = useLogoutFunction()
    const { redirectToLoginPage, redirectToSignupPage, redirectToAccountPage } = useRedirectFunctions()
    // Or if you want to make links instead
    // const { getLoginPageUrl, getSignupPageUrl, getAccountPageUrl } = useHostedPageUrls()

    if (props.isLoggedIn) {
        return (
            <div>
                <p>You are logged in as {props.user.email}</p>
                <button onClick={() => redirectToAccountPage()}>Account</button>
                <button onClick={() => logoutFunction(true)}>Logout</button>
            </div>
        )
    } else {
        return (
            <div>
                <p>You are not logged in</p>
                <button onClick={() => redirectToLoginPage()}>Login</button>
                <button onClick={() => redirectToSignupPage()}>Signup</button>
            </div>
        )
    }
})

export default YourAppAnd now we can see our login/signup buttons since we still aren't logged in:
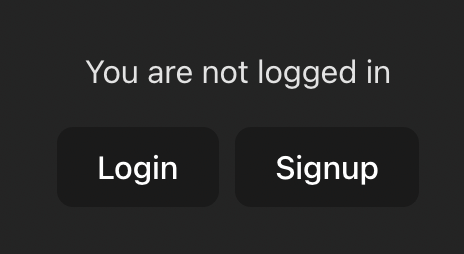
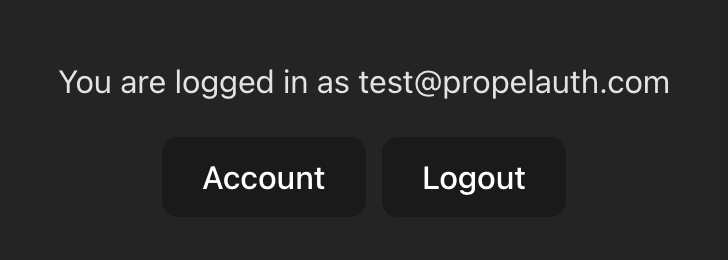
Let's click the Signup button and then create an account. Afterwards, we'll be redirected back to our application and we can see our email address, as well as the Logout and Account buttons:
Next Steps
Great! We now have a powerful, flexible authentication experience for our users. And for us, we have all the building blocks we need to set up our product.
In our next guide, we'll see how we can protect our backend APIs.